Around the time I semi-retired from autocrossing, aerodynamics (wings and things) had started to become the rage. My initial impression was that aero on a car doing 60 to 70mph was pointless.
When I returned "full time" earlier this year, it seemed EVERY car that could add aero had something done. Big wings, splitters, louvers, etc. Talking with Maryland Mike Snyder earlier this year, he had added a spoiler and splitter to his C Prepared Mustang last year, and he said it made a noticeable difference.
He's a friend who I trust so I started thinking how to add aero to my Camaro. Camaro aero!
I decided the easiest thing would be to fabricate a rear spoiler for the car. While other Prepared classes have the flexibility of adding a wing, CP only allows a spoiler no taller than 10 inches from the trunk/deck lid.
"It is a non-production rear spoiler which is mounted to the rear portion of the rear hatch, deck, or trunk lid. The spoiler may extend no more than 10.0” (25.4 cm) from the original bodywork in any direction. Alternatively in a hatchback, the spoiler may be mounted to the rear hatch lid at or near the top of the hatch in such a configuration the spoiler may extend not more than 7½ inches (7.50”, 19.1 cm) from the original bodywork in any direction. The spoiler may be no wider that the bodywork. The use of endplates is prohibited. Spoiler endplates are defined as any vertical (or semi-vertical) surfaces attached in front of the spoiler which have the result of capturing and redistributing air (downforce) along all or any portion of the spoiler. The angle of attack is free. The spoiler may not function as a wing."
The only open area of the rule is that it can be made from any material. Since my car is still somewhat streetable and I need to keep an eye out for the po-po, I decided to use clear Lexan.
Using my Google search skillz, I found a local company that sold lexan by the sheet, and they actually cut it to the size I specified. Only issue is that I had to buy the whole sheet, so now I have a lot of leftover Lexan! But if I messed up the spoiler, at least there was extra material left over.
I started by mocking up the spoiler using cardboard and blue tape.
 |
Cardboard mockup. |
 |
Cardboard mockup. |
 |
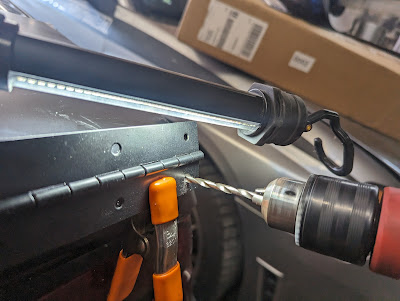
Starting to drill holes to mount the hinges. |
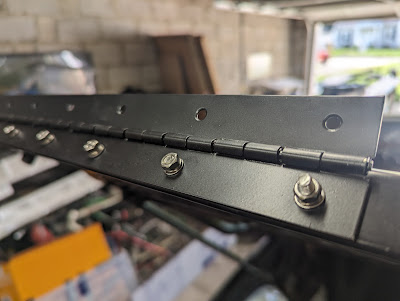
I had a kit with various size cap screws and mounted the hinges.
 |
One hinge mounted, two to go! |
 |
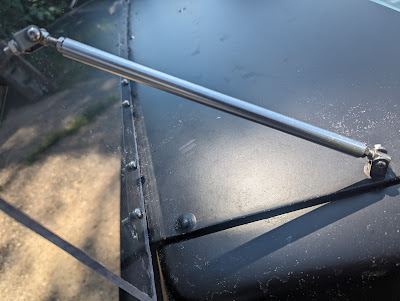
| Cheapo adjustable rod supports. |
Cheapo rod supports were acquired from the South American rainforest site and connected between the deck lid and spoiler -- one on each end and two smaller ones in the middle. There were existing holes in the decklid from where a later-thirdgen "high rise" OEM Camaro wing had been mounted (OEM wing was on when I bought the car, and I sold it a long time ago).
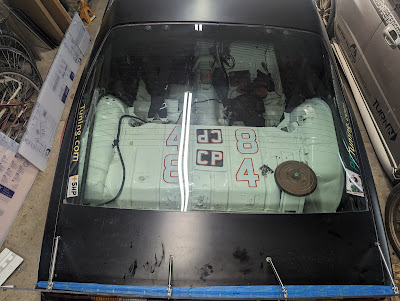
And the finished product:


Comments
Post a Comment